It's time for me to post my Rush Hour Hop objects! As always, we are are encouraged by Mdm Samm at
Sew We Quilt who sets the themes and works behind the scenes to make these hops what they are. Head cheerleader for this round is the incomparable Carol of
Just Let Me Quilt. Take a bow, ladies!
Here is the list of today's fellow participants
Monday, September 29
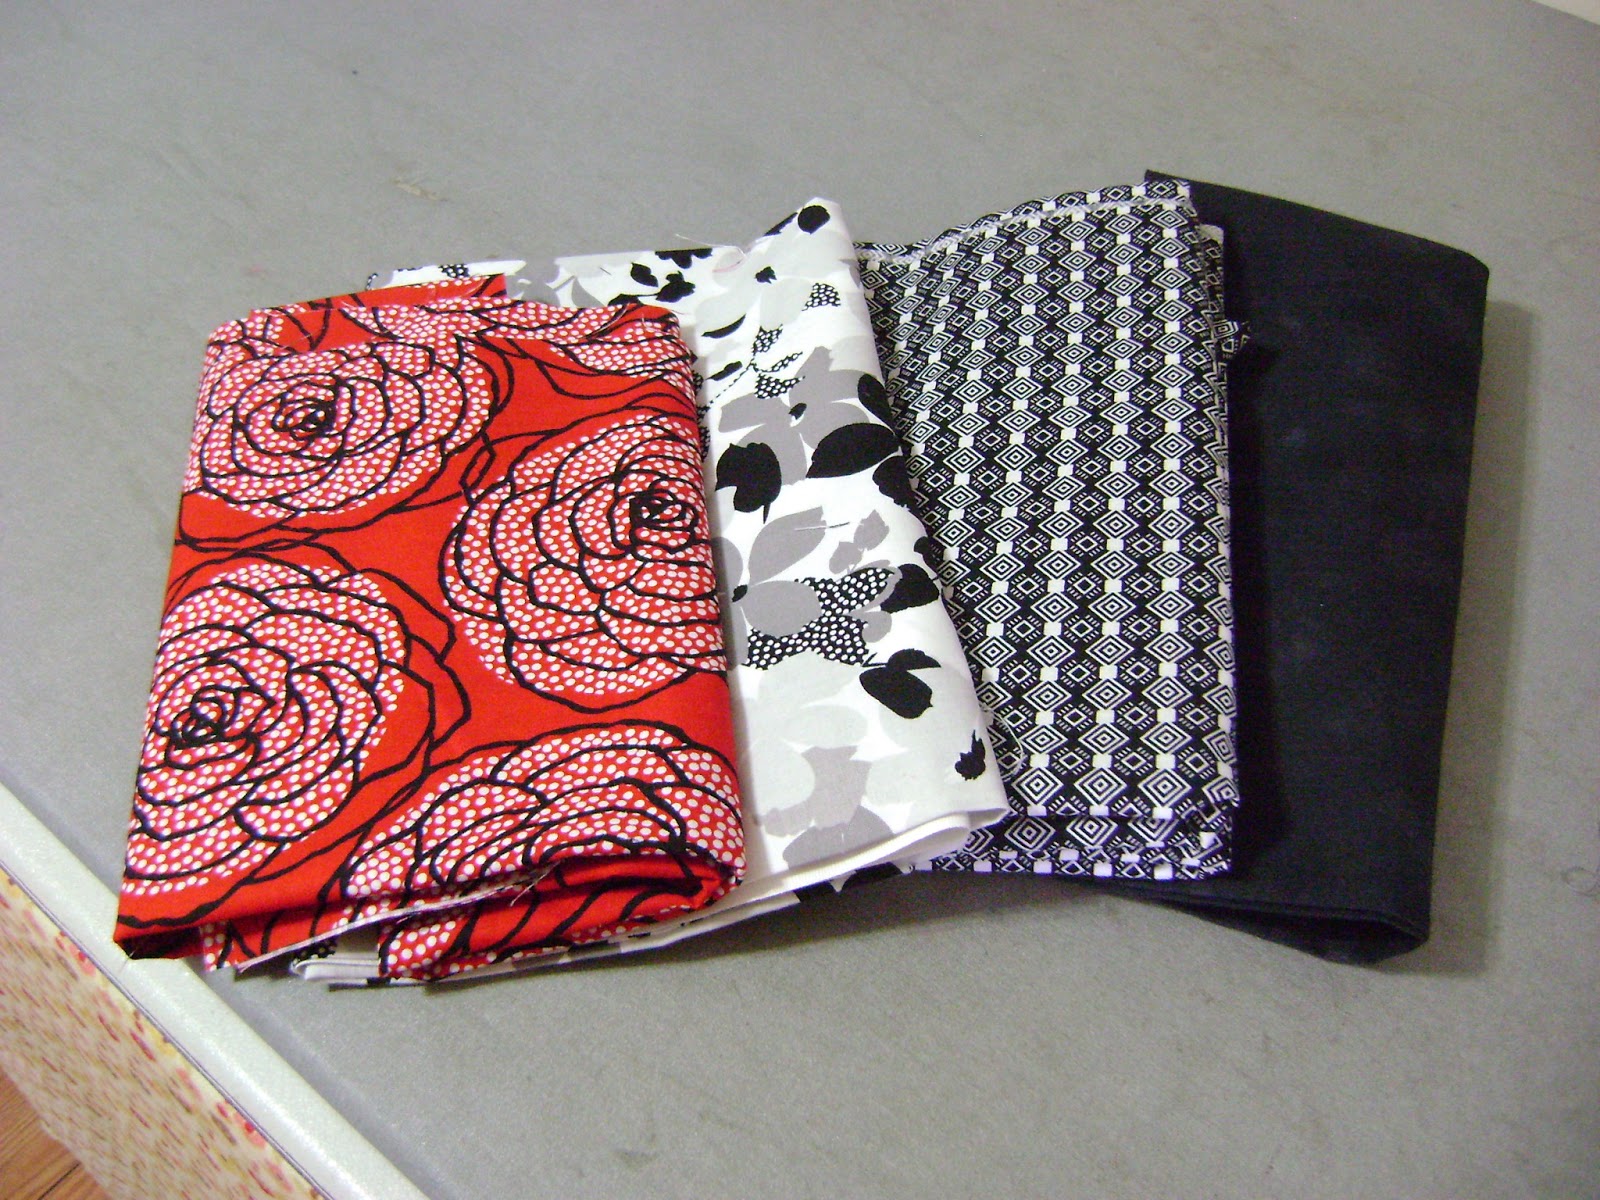
Studio E Fabrics is our sponsor this round and what a wonderful line of fabric to inspire us! Have you seen their upcoming
Pearle and
Essentials 9?? I tell you, a red, black, white and gray lovers dream. I think it is my favorite combination of colors, at least in my clothing and accessories. I don't give a hang if redheads "shouldn't wear red" and never have. Of course, it is often a choice for sports teams, either red and white with black accents, or red and black, with white accents: my beloved St. Louis Cardinals, our local high school team, the nearby college are just a few examples. Being a t-shirt and jeans gal, you know I have shirts for a few of those teams. I like red bandanas and drive a red car. I do redwork embroidery. I love red!
Some have related stories of what "Rush Hour" means to them. I guess I was lucky that my commute was as little as 2 blocks and at most 5 miles drive time. I never got stuck in a traffic jam, also only got to call in to work just once because snow kept me from getting to work. I "retired" when we moved to Alabama back in 97 so any deadlines I face are self imposed for the most part. But that didn't mean I couldn't participate in the hop!
We were not required to use the wonderful Rush Hour fabric line as long as we used red, black, white and gray. Good thing, as I could NOT track any down when I ordered fabric back in July. What I DID use is still Studio E but is part of their
Essentials 8 line plus a mottled black Essentials from Wilmington.
So what did I make? A few practical items naturally or why do the work?
First, a tablet prop as mine as a wobbly stand. Actually it is a just a pincushion like I made for the "See You in September" hop last week. Beats the rolled up kitchen towel I had been using and keeps the thing from toppling over. I put some kitchen shelf gripper stuff on the bottom to keep it all from sliding though. Just a scrap piece of fabric from the picnic hop. I pull this table and its contents up when the "boys" and I are chilling in front of the TV in the evening.
Next up:
I was intrigued by the ipad/tablet stand that one of the hoppers Helen of
Till We Quilt Again shared with us recently and whipped one of those up. My friend Jane had lent me her backup Kindle and the books on it (without my asking even!) While I know it is a bad habit to read when you are eating, it helps me avoid seeing that empty chair and missing my dear companion. I
read, sometimes it is the only time I get a chance to all day. Anyway, I put gripper stuff on the bottom of this as well as it slips a bit on my table top otherwise.
One more quickie item before I get to the main event.
I had a lapboard that I thought could use a face lift so I dismantled it. "Re-mantling" it meant that I had little bits of styrofoam flakes and balls blowing away with the breeze. I've got most of it vacuumed up now but still see some down in the cracks of the driveway, LOL. Emptying it was not near as bad as it went right into a 2 gal ziploc bag without too much fuss. Filling it was the challenge! I ended up using a good bit of crushed walnut shells and now it is a bit heavier on my legs. Oh, well but it looks so much better than what was on it before!
The other thing--the ledge I built up with the long skinny stuffed tube will not stick. Ran out of hot glue sticks and that just boogered up the fabric. Tried double stick carpet tape and that was a bust too. Finally I figured out last night to just put the tube under the tablet to angle it a bit. Now I'm cooking, LOL. Fortunately the carpet tape just peeled off.
Okay, the main event---
I had hoped to have made this BEFORE I took my trip to Colorado and Illinois in August as it would have been good for my personal item carry on, shove my smaller purse in it and go. There are pockets on this
Creative Thimble Professional Tote everywhere! Good sized too about 18w x 15h x 5d.
The front side picture shows you the zipped front pocket with lined pocket behind it. Also there are two side pleated pockets which gather up with cord locks. I will tell you that I panicked about having to make my first button holes in about 30 some years there on those side pleated pockets. I had gotten out of the garment making business some time ago and avoided button holes like the plague even then, LOL . I sucked it up and got through it after a few practice button holes on one of the computerized machines I own. Those side pockets are good spots for a water bottle, your umbrella, glasses case, cell phone, etc. I did make by own fabric handles so they matched the trim and bag bottom though she gives you the option of this or webbing/belting.

Back side picture will show the wide open topped pocket at the top but I used the optional magnetic closer rather than Velcro closure. Good spot for the newspaper, magazines, files. That magnetic closer insertion was a first for me. Also I did put on the optional strap across the top that will allow you to slip the bag over your luggage handle. It kind of blends in but I think you may be able to spot it.
It is hard to get a decent picture of the interior but I tried to show some of the inside pockets. There is a set of three pockets and three zippers on the bag. This shows the zippered pocket that acts as a divider . My chromebook is inside. There is also a small vinyl pocket for business cards, ID in the exterior of this pocket. I framed mine with the black fabric and left it open at the top but didn't get a picture of it.
Here is the interior patch pocket with key fob attached. I used a swivel hook but D rings were the other option. You decide where you want to make the pocket divisions to fit what you normally would carry.
There is a large three pocket on the other side. The center pocket is pleated and has a Velcro tab at the top, shown here closed
Shown here open. The whole bag zips closed at the top and you may notice the zipper tape/teeth in this picture.
The bag is heavily interfaced with decor bond so is quite sturdy. I was happy that I had chosen to sew with my old mechanical Singer as it is a workhorse! When one of the computerized one balks at even 4 thicknesses of plain cloth, you can appreciate the Singer plowing through multiple layers. I did, however, bend the tar out of several 110/18 heavy duty needles and broke a couple of 16 Jeans needles. I have more ordered but a few tasks will wait till they arrive.
What is next? A blogging friend asked the other day if I was going to be getting back to quilty things rather than the craftsy things I have been doing. LOL eventually, yes. I have three items kitted up with the leftover fabric.
- another ipad/tablet stand in red for Jane as a "thank you" for letting me borrow her kindle. She knows about it as I asked her favorite color and she liked this red floral fabric I used
- a this and that wallet to go with my bag
- a wonder wallet for the loyalty cars to go with my bag
- I also want to make a tablet case so I have some where to stow the two chargers with the tablet
Overview shot of my items
Thanks for stopping by today and I hope you enjoy the remainder of the hop. I know the others are waiting to strut their stuff for you too! We are, after all, as Mdm Samm says a " sew and show" blog hop!


.png)


.JPG)


