 Okay, what I am actually working on , I cannot share since it is a gift and the recipient does follow my blog. I got a bit of the piecing done on Monday but approaching storms necessitated shutting down shop.
Yesterday was quilt meeting so I didn't feel much like working on it last night. It is one of those patterns that require paying attention and follow the pattern step by step. I know better than to sew when I "don't feel like it". I vastly enjoy piecing but the unpiecing, not near as much, don't you? VBG
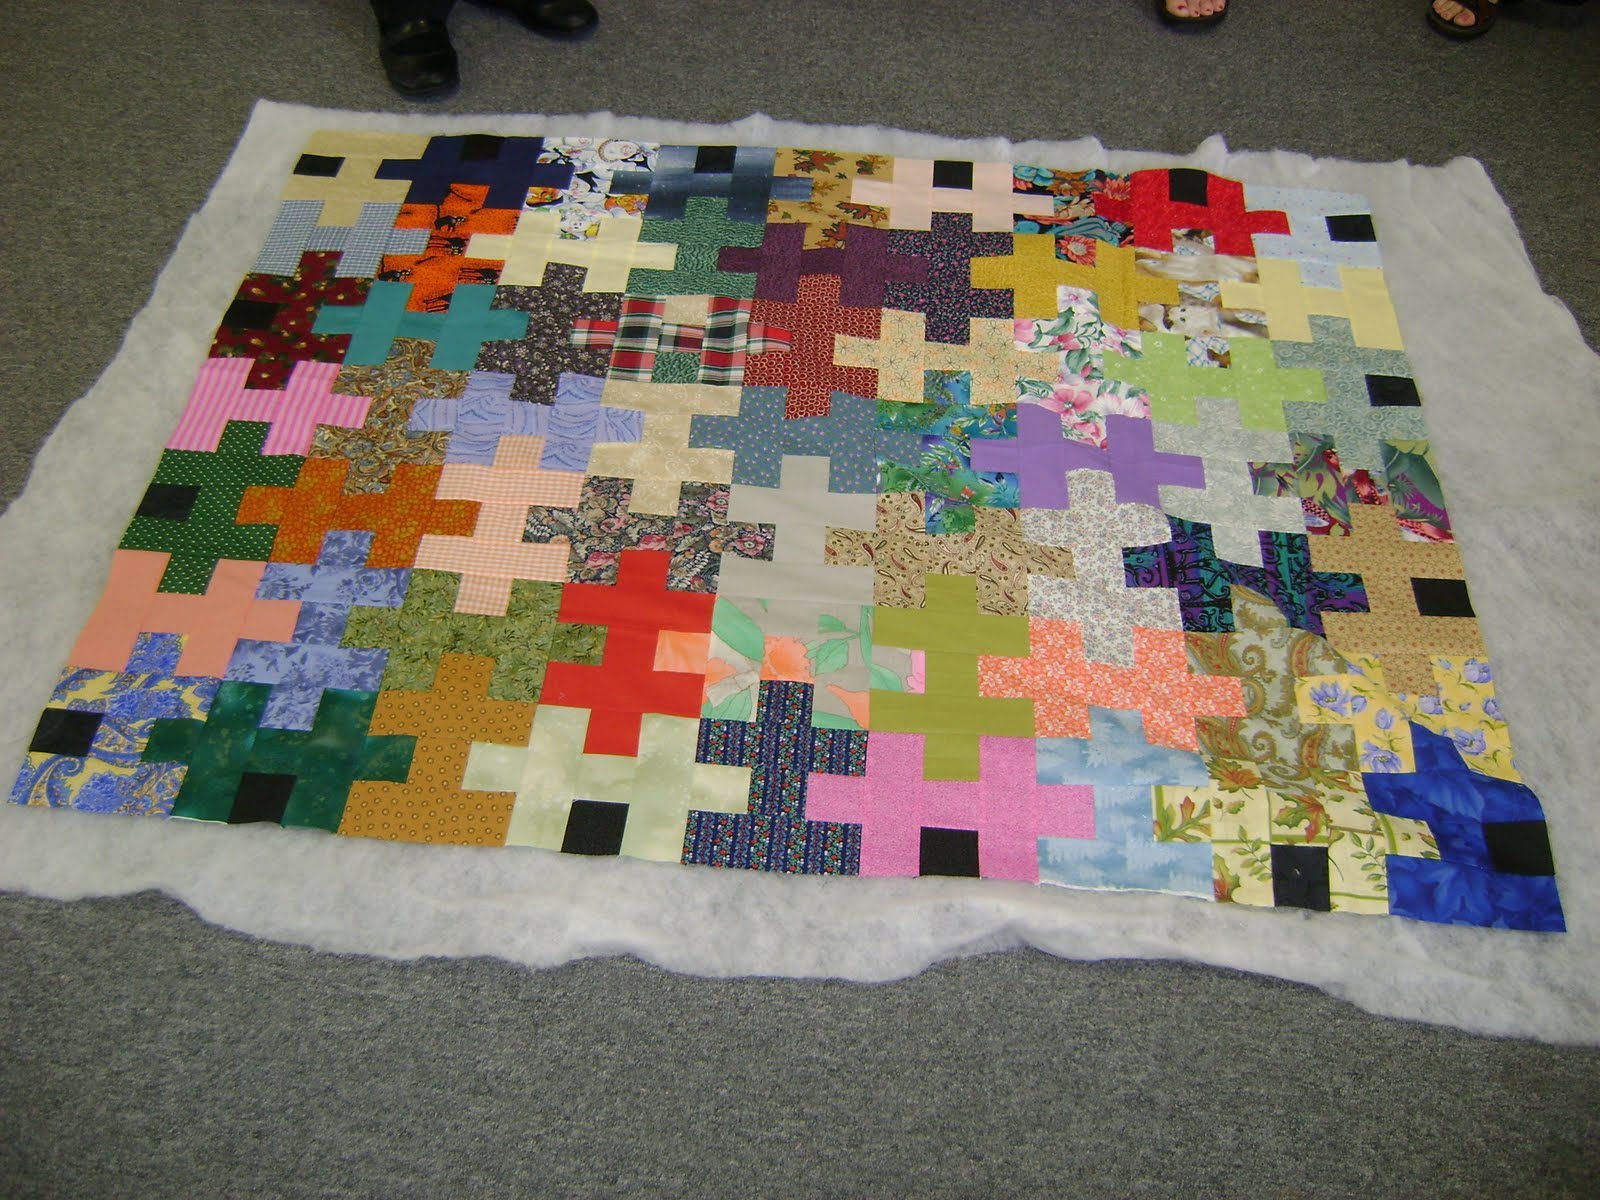
SO here is one of Lois' wonderful scrappy tops that she brought to the meeting with her. I found the pattern online at about.com's quilting site and ran her off a copy, knowing how we look for scrappy quilt ideas or ideas on using cut squares and strips. This year our hunt is increased since the group is doing a scrap bag challenge! You can find the pattern HERE. I did combine all the pages into a document though to make it easier to print off. If anyone wants it as an email attachment that you can download and then print, let me know.
Lois' daughter has recently bought a long arm (or maybe it is a mid arm, not sure?) machine and they are both going through the instructions provided by the company. The donation quilts are a great way for them to practice. After discussing whether the three tops she brought should be pinned or her taking the tops with just our batting over to Lauri's, she cut out what she needed. I know she has other ones that are already pinned at home. On those she possibly have skimped a bit or even trimmed the batting down for quilting on the domestic machine. The tops she brought yesterday, she could be more generous or take extra batting home to piece it to a wider width.
I marked the Santa top for cross hatch hand quilting and we pinned it along with one of the donation tops. Oh, I have "tons" more to pin, personal and donation, but I am bound and determined not to have a pile of pinned tops up there till that last personal quilt is dealt with! (read: as soon as the gift is done)
We did find out that one of our members will soon be moving up to the Knoxville, TN area. As I suspected, the tops the group recently pinned for her will be coming to me after all. I had wanted her to at least TRY to quilt them herself rather than her continuing to expect me to do it just because I am the group leader. She will not have time to deal with them with packing, moving and unpacking. They can live at the meeting site for the time being if they have to till I am caught up enough to allow them to come home with me.
Changing course here. Before I forget, I had referred to the Billie Lauder way to doing two four patches at one time from two squares. A couple people asked about that so I went hunting and found a link to a video tutorial of Billie demonstrating the technique. It includes a way of looping them with say, a string of 5 inch charm squares for scrappy 4 inch finished 4 patch units. Too bad I didn't see that before I started the 4 patch diagonal quilt, LOL. It possibly would not have worked for my version with the background color remaining the same but I can see other applications that it would! All that narrative is probably making NO sense to you so go watch the video, LOL. The link is HERE .
You can, of course, make the 4 patches any size. The formula is "the finished size of your 4 patch unit plus 1 inch" for your cut squares. 4 inch finished 4 patch? You would cut 5 inch squares, 5 inch finished, 6 inch, and so on. I know she shared all this stuff on the old "Simply Quilts" show and you find other Billie things online as well.
Also you may be interested in her method of doing two nine patches at once from two cut squares from her Quick Quilt Tricks booklet shown on in a tutorial on this blog post . While the blogger does not specifically say it is a "Billie" trick, it IS how it is done. You end up with one 5 dark/4 light squares and one 4 light/5 dark nine patches out of the deal. The formula you use is "finished size of the block plus 1 1/2 inches" NOTE: something easily divisible by 3 is helpful. If you want 7.5 inch finished 9 patches then you use two squares 9 inches to start with and 9 is divisible by 3 at 3 inches. 6 inch finished, squares are cut 7.5 and divides by 3 at 2.5 and so on. I don't think she included that in her instructions. Clear as mud? Go look at the pictures, LOL.
I have a couple of things to follow up with for the quilt group so will close this for now. Hopefully I will be able to report a "finish to flimsy" on the gift piece in a day or so--even if I can't share any pictures till after the online birthday party.
the puzzle quilt is super cute and yes! please send me the link. Strips and squares~I am so there :)
ReplyDeleteHope the bday piece is going good...went fabric shopping today for my plan. Now to see if it works...lol