Yes, that is how it is done all right. Of course you could also do cut the strips a tad wider than needed and then use thangles or triangles on a roll and let the paper stabilize it while you sew, especially if you have a lot of them to do for your project but that is not the tip.
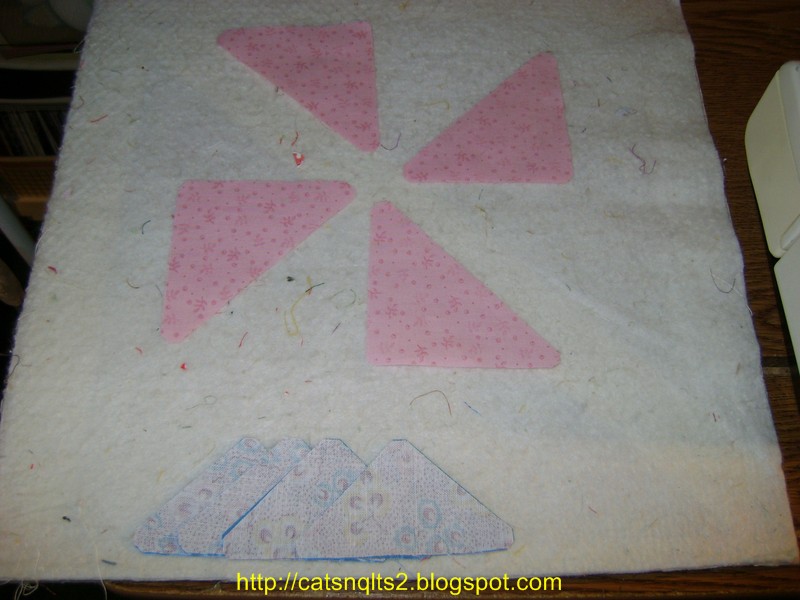

Also do yourself a favor and make yourself a little design board. This is a tip I got from my pal and quilt mentor Joy who had a lot of other good ideas that I follow to this day. It is just a piece of cardboard cut big enough to put in the bottom of a pizza box and covered with some quilt batting. (Actually I have two of them---one with a black felt background but this one was closest.) The batting holds the pieces in place unless a nosy kitty comes along and it is portable. When it is time to play with the blocks you'll probably need the design wall space but for one block, this works fine.
Cheapie vinyl tablecloths that are flannel backed work fine for design walls. You can pin to them if you have to because you are not likely to actually use if for anything else once you get it string covered anyway. Got a tricky placement of a whole quilt or you want your block placement to stay put but no time to sew?? Pin it on, roll it up and put it away till you are ready. The Belles and I did that to a bed sheet at a quilt meeting in someone's home one day as she would not have us standing over her shoulder till the project was done.
I used to clip mine to the shelving unit and then roll it up but now I sew in that space. I have a little design wall space but has other stuff all over it, some things that need to be kept handy making it more like a bulletin board , come to think of it. Since it was the only available wall space in my room, it is not ideal--some areas are hard to get at to pin, even if it were not covered. Oh well! We do what we need to do to make our spaces work for us, right?
And sew it goes----more about this block, pattern etc later. Hope things go better than they did last evening! More on that later too when I post the blocks.
WOW, this is a cool block !!!
ReplyDeleteBev, the pink was from a blogging friend. The print IS a feedsack so is truly vintage and the teal is from Teresa for my bday. I hope it will be pretty once I get it sewn. 1266b Whirlwind dating back to 1940.
ReplyDeleteLOVE your tip!! I have found that if I sew QST triangles from the top of the triangle to the base - along the right side - whichever fabric is on TOP will end up on the right side of the unit. If you want to cut pairs - layer your fabrics (RST) with the one that you want to show up on the right on TOP - if that makes sense. If not - check out the post I wrote when I added QST to the LHQSQ mix - ;))
ReplyDelete